October 26, 2012

Garlic Cheese Twists

     Last night we had spaghetti and rather than having the usual garlic toast, I decided to make the Garlic-Cheese Twists that I found a recipe online for. (I apologize that I cannot remember where I found it so if the person who originally posted this sees this, would you please provide a link in the comments and I will update the posting giving you credit.)
     To make the twists:
----------------------------
          3 cups All-Purpose Flour
          2 1/2 tsp Active Dry Yeast
          1 T Granulated Sugar
          1 1/2 tsp Salt
          1 1/4 cups warm Water
          1 T Extra Virgin Olive Oil*
          1 clove Garlic, minced
          Cheddar Cheese
          Extra Virgin Olive Oil for brushing

     Spray two baking sheets with non-stick cooking spray.
     Combine half of the flour (1 1/2 cups) with yeast, sugar, and salt in a large bowl. Add warm water and oil. Beat on medium speed until smooth, about 4 minutes.
     Stir in garlic and as much of the remaining flour needed to make a stiff dough.
     Turn dough out onto a floured surface and knead until smooth and elastic.
     Divide dough into fourths (I used a pizza cutter). Shape each portion into a ball and then divide each ball into ten portions. Shape each of these portions into a stick.
     For each twist, brush one stick with water and twist with another stick. Make sure to press together at the ends so they stay together.
     Arrange all the twists on the baking sheets about two inches apart.
     Brush twists with olive oil and sprinkle with Cheddar cheese.
     Cover and let rise in a warm, draft-free place for about 50 minutes. (I put mine in the oven with the light turned on, a tip that I learned on Pinterest.)
     Preheat oven to 400 degrees.
     Bake until lightly browned, 12 to 15 minutes. Serve warm.

     *The original recipe calls for Canola Oil, but I live Extra Virgin Olive Oil better and think it provides a better flavor.
----------------------------

Before raising. They get bigger, but don't quite double. (I forgot to take a picture after they rose.)

Fresh out of the oven.
     The consensus? They need more garlic. You can hardly tell that there is any in there. This is most likely due to the fact that fresh garlic is not as potent as granulated garlic. Next time I make them (and there will be a next time), I am going to use two cloves of garlic and possibly sprinkle a little bit on top of the twists along with the cheese.
     Dad said that he liked how they were kind of crispy on the bottom. Mom said that was what she didn't like about them. So, next time, one pan will be baked a little less so Mom can have breadsticks that are not at all crispy.
     And Rachel? It's bread and cheese, two of her favorite foods, so there was no question about whether or not she liked them. No, the question was how many she would eat. I didn't count how many, so I can't tell you, but I do know that she ate one right as they came out of the oven, at at least one at dinner , and took at least one in her lunch today.
     I reheated one to have with my lunch today and they are still as good as they were last night.

"Tomatoes and oregano make it Italian; wine and tarragon make it French. Sour cream makes it Russian; lemon and cinnamon make it Greek. Soy sauce makes it Chinese; garlic makes it good." 
- Alice May Brock      

October 17, 2012

Blueberry Lemon Muffins

     Mom had promised all summer long that she would make a batch of Blueberry Lemon Muffins. She never did, so I decided that I would make them. This is my first time making them so I am hoping that they are going to turn out as good as her's. To make Blueberry Lemon Muffins:
------------------------------
Blueberry Lemon Muffins
     Makes 12 muffins.*
 
           2 eggs
           1/2 c melted butter
           1 c sugar
           1 c plain yogurt
           2 c flour
           1 tsp baking powder
           1/2 tsp baking soda
           1 tsp lemon zest**
           1 c blueberries***

     Preheat oven to 375 degrees.
     Beat together eggs, melted butter, and sugar.
     Stir in yogurt.
     Add dry ingredients just until blended.
     Fold in lemon zest and blueberries.
     Spoon batter into muffin tins that have been sprayed with non-stick cooking spray.
     Bake 25 minutes or until a toothpick that has been inserted in the middle of a few of the muffins comes out clean.****

     *This is what the recipe I used says, but I found that there was more batter after filling the 12 muffin cavities in the muffin tin so I put the extra in a mini loaf pan and made a mini loaf of Blueberry Lemon Bread.
     **I am of the mindset that you can never have enough lemon, so I just added the zest of a whole lemon.
     ***A tip that I learned a while ago is that when using berries, chocolate chips, nuts, etc. in a recipe, toss them in flour before adding to the batter. This will prevent them from sinking to the bottom of whatever it is that you are making. I know it sounds like an old wives' tale, but it really does work.
     ****My muffins were done after 20 minutes and the mini loaf after 25.
------------------------------
     I would be eating one right now, but since they just came out of the oven, I have a feeling that I would not be able to enjoy it as much as I would like and would burn my mouth. They do smell delicious.
Melted butter, eggs, and sugar. Look how nice and yellow it is from farm fresh eggs.

Yogurt has already been stirred in. This is before the dry ingredients have been added.

With the lemon zest and blueberries.
This is how I floured my blueberries. I put a little bit of flour in the measuring cup and then added the blueberries and stirred with a spoon.

In the muffin tin pre baking.
In the muffin tin post baking.
      You have no idea how good these smell right now, but I am being good and restraining myself from eating one... for now.

Two muffins were sitting in an oven.
One muffin said to the other, "Ooh, gettin' a bit hot in here don't you think?"
The other backed away in surprise, "Oh My God!! A Talking Muffin!!"

October 15, 2012

Easy Breezy Waffles

     Sometimes when we have our cased pork sausage for dinner, we will have waffles with it. They are extremely easy to make and very delicious. To make them:
------------------------------
Easy Breezy Waffles
          1 3/4 c. flour
          3 tsp baking powder
          1/2 tsp salt
          2 beaten egg yolks
          1 c. milk
          1/2 c. cream*
          2 egg whites, beaten until stiff peaks form

     Sift dry ingredients together.
     Combine egg yolks, milk, and cream; stir into dry ingredients.
     Fold in egg whites leaving a few fluffs - do not over mix.
     Bake in preheated waffle iron.
     Makes about 5 waffles depending on how big you make them.

     *I usually use Heavy Whipping Cream, but Half and Half works too.
------------------------------
     I think it is nearly impossible to mess these up (unless you forget to plug in the waffle iron or forget the waffle in the waffle iron). I like to put butter, applesauce (homemade of course), and cream on mine. They are also good with the traditional butter and maple syrup.
Dry Ingredients

Egg Yolks, Milk, and Cream

Beaten Egg Whites

Wet ingredients have been added and egg whites have been folded in. As stated in the recipe, make sure to leave some fluffs. This makes your waffles nice and fluffy.

Waffle!!! Yum!
     As you can see, I did not take a picture of my waffle on my plate with the applesauce and cream... I kind of forgot until after I had eaten most of it. Oops.

"We can stay up late, swapping manly stories, and in the morning, I'm making waffles!"
- Donkey from "Shrek"

October 6, 2012

Hamburger Pizza

     Mmm... Pizza. Who doesn't like pizza? Seriously. The nice thing about pizza is that you can pretty much put anything on it that you want. And if you make it with a sugar cookie crust, it can be a dessert pizza.
     This pizza dough is super easy to make and can also be used to make calzones. To make it:

------------------------------

            3 ¼ to 3 ¾ c flour
           2 ¼ tsp. yeast
           1 ½ tsp. salt
           1 ¼ c warm water
           3 T oil

     In large bowl, combine 1 ½ c flour, yeast, and salt. 
     Add warm water and oil. 
     Blend at low speed until moist. 
     Beat 3 minutes a medium speed. 
     By hand stir in enough flour to make firm dough. 
     Knead 3-5 minutes. 
     Cover dough with plastic wrap or a warm towel. Let rise 20 minutes. 
 ------------------------------

     This can be topped with whatever pizza toppings your heart desires. This time, I topped ours with:
     Hamburger (fried with chopped onion and seasoned with salt and pepper),
     Canadian Bacon,
     Olives (cut up into fourths),
     Shredded Cheese (mozzarella and cheddar), and
     Pineapple Chunks.
     To make the pizza, make the dough from the recipe above. After it has risen for 20 minutes, stretch it out onto pizza sheet that has been sprayed with non-stick cooking spray. You can also use a cookie sheet or make personal sized pizzas using pie plates.
     The sauce can either be homemade or store-bought. (I used store bought this time because I totally forgot about making the sauce and everyone was getting hungry.) To make pizza sauce:

------------------------------
            1 8oz can tomato sauce
           2 tsp. oregano
           ¾ tsp. salt
           1/8 tsp. garlic
           1/8 tsp. pepper

     Combine the above ingredients and stir well. It is a good idea to make it prior to starting the pizza dough so the flavors have a chance to incorporate better. It also works fine to make it and use it right away.
------------------------------

     After putting all the toppings you want on your pizza, put it in a 425 degree oven for 20-25 minutes or until the crust is golden brown on both the edges and the bottom. Check on the pizza a couple times while it is baking and rotate it to make sure that the pizza is cooked evenly. Let the pizza set for a few minutes before cutting it or you will have a problem with all of your toppings wanting to fall off.
     To make calzones, make the pizza dough from the above recipe. When we have calzones, they are usually filled with the same things that we put on hamburger pizza minus the pineapple (it is too juicy to put in them). However, you can fill it with you want. When my cousin makes them, she fills them with sausage (fried and seasoned with salt and pepper), pepperoni, olives, and cheese. 
     Break off a section of the pizza dough and stretch it into a circle that is about 5 inches across (unless you want to make mini calzones, but those are a lot of work). Place your fillings on one half of the dough. Fold over the other half of the dough and press the edges together to seal. Place on a pizza sheet or cookie sheet that have been sprayed with non-stick cooking spray. Bake in a 425 degree oven for 20-25 minutes or until they are golden brown. Make sure to rotate the pan at least once to ensure even baking.
     Other variations we have used this pizza dough recipe for are:
          BBQ Chicken Pizza -  BBQ Sauce instead of Pizza Sauce with two chicken breasts that have been seasoned with salt and pepper, cooked in a pan, and then chopped up (we use a Pampered Chef Food Chopper).
          Honey Chipolte Pizza - Foster Farms Honey Chipolte Chicken Breasts (we buy them from Costco) that have been cooked in a pan and chopped up. For this one, we still have not decided if we like it better with Olive Oil or normal Pizza Sauce.
     And now... Pictures!!!!!!!

The dry ingredients
This is what it looks like after you have added the wet ingredients and mixed it for 3 minutes.

After adding the wet ingredients, you slowly begin to work in the rest of your flour. This is what it looks like when it starts to come together.

Kneading the dough. A very important step.

After the dough has been kneaded and returned to the bowl.

Twenty minutes later, your dough will have at least doubled in size. It does better if there is no draft. I like to cover mine with plastic as well as a light towel that I have put in the microwave for about 20 seconds.

Stretch out the dough onto your pizza sheet that has been sprayed with non-stick cooking spray.

Add your toppings.

After coming out of the oven.
     The nice thing about making your own pizza rather than getting delivery, somewhere like Papa Murphys, or buying a frozen one is that you get to control what you have on your pizza and how much of everything you want on it. This helps to please everyone who eats it. For example, my sister does not like pineapple, so there is no pineapple on 1/4 of this pizza and my cousin who was there for dinner does not like olives (crazy kid) so there are no olives on 1/4 of the pizza. In the end, everyone is happy and no one ends up with a pile of toppings on their plate because they are things that they do not like.      

 "Pizza. Great equalizer. Rich people love pizza. Poor people love pizza. White people love pizza. Black people love pizza."
-Michael Scott - "The Office"             

October 3, 2012

Breakfast... It's what's for dinner!

     There is nothing, absolutely nothing wrong with having breakfast for dinner. For tonight's breakfast for dinner, we had Crock Pot Cinnamon Rolls and Scrambled Eggs with Ham.
     I originally saw the recipe for the cinnamon rolls on Pinterest. That pin linked me here. The recipe is super easy and makes some cinnamon rolls that are pretty dang good. Mom even said that she could stop making her cinnamon rolls. Dad quickly said no to this because Mom's cinnamon rolls have this yummy, sticky, gooey stuff on them that the Crock Pot Cinnamon Rolls do not.
    To make the Crock Pot Cinnamon Rolls:

------------------------------

          1 can of biscuits
          1/4 c melted butter
          1 tsp. vanilla
          1/2 c brown sugar
          1 tsp. cinnamon
          pecan pieces (optional)

          Glaze:
          1 1/3 c powdered sugar
          2 T milk

          1. Coat the Crock Pot lightly with cooking spray.
          2. Melt the butter in a small bowl. Mix in the vanilla.
          3. Combine brown sugar and cinnamon in a separate bowl.
          4. Roll the biscuits in the butter and then brown sugar and cinnamon mixture.
          5. Place prepared biscuits in the Crock Pot and sprinkle with pecan pieces.
          6. Cover the Crock Pot with a paper towel and put the lid on. (Prevents condensation.)
          7. Cook on low 2-3 hours.
          8. Mix glaze ingredients in a small bowl. Drizzle on top of rolls when plated.

------------------------------

     For the biscuits, I used Pillsbury Grands since I figured they are a nice fluffy biscuit when cooked normally so they would be great for this recipe; they were. The recipe only called for pecans, but we like walnuts and pecans, so I used both. Also, the original recipe said that you could add more milk to the glaze if you wanted, but I actually added more powdered sugar since the rolls would be hot and would cause the glaze to run easily so it would better if it were thicker.
     Along with the Cinnamon Rolls, we had scrambled eggs and ham. For the ham, I used half of a Kirkland Boneless Ham Steak that was cut into cubes. I put this in a frying pan on medium while I mixed up the eggs. 
     I made these as you would normal scrambled eggs: eggs, salt, pepper, and milk. I heard from someone that if you add some sour cream to your scrambled eggs, it makes them fluffier so I put some of that in too. I used 1 dozen eggs so I put about 2-3 T of sour cream in the eggs. It doesn't mix in completely so it looks kind of weird. I think Dad described how it looks best by saying that it looks like when you make waffles and mix in the whipped egg whites.
     Once the ham had caramelized some, I poured the egg mix in and proceeded to cook them as one would with normal scrambled eggs.
     The end result was very, very good. We have scrambled eggs and ham every now and then, so that was nothing new and they were as good as they always are. I didn't really think that the sour cream made much of a difference, but that could be because I did not put enough in. When Dad has eggs in the morning, he usually has two eggs and he says he puts about a teaspoon in and it seems to help, so I could have just not had the right ratio of egg to sour cream.
     The cinnamon rolls were a little bit tough/chewy on the bottom and edges, but not too much. It was kind of like the edge pieces on a pan of brownies (without a doubt the best cut of brownie).


On the left, butter and vanilla. On the left, cinnamon and sugar.

I'm quite proud of myself. I usually flinch when I open a can of biscuits, but this time I did not.


Dip in le butter...

... then le cinnamon sugar.

Rolls pre-nuts.

This is the amount of nuts I used. You can use more or less as per your preference.

Rolls with nuts.

It looks weird and everyone kept asking why there was a paper towel on the Crock Pot, but it really does help to keep the condensation off of the rolls. I changed the paper towel twice during the cooking process because it was starting to get wet and I did not want that to start dripping onto the rolls.

The rolls when they're done. You can't really tell from this picture, but the rolls rose to double their original size.

One dozen eggs. Not how yellow the yolks are; these are real eggs not store-bought.

Cubed ham. Half is plenty. Any more and you would have to call it ham with scrambled eggs.


You can hardly see it, but there are chunks of ham in there. It looks weird with the sour cream chunks.


Look at those yummy scrambled eggs cooking.

The final plating. Look at how nice that roll is. 


"I do not like green eggs and ham!
I do not like them, Sam-I-am.
You do not like them.
SO you say.
Try them! Try them!
And you may.
Try them and you may I say.
...
 I do so like green eggs and ham!
Thank you!
Thank you, Sam-I-am."

- Dr. Suess, "Green Eggs and Ham"

October 2, 2012

Lemon Chicken

     Back before Dragon Chinese Kitchen got new owners and went downhill (although I hear it is getting better), we used to go there quite often for dinner. In fact, we went so often that we didn't even have to tell them our order, they would tell it to us and ask if that was correct. I wouldn't call it obsessed, but nine times out of ten, that's where we went for dinner when we went out.
     Dragon had a delicious Lemon Chicken. We decided that the sauce on it tasted a lot like the filling for the Lemon Meringue Pie that I make. That is where the inspiration for this dish came from. However, I am just now getting around to making it.
     For the sauce, I used the recipe for an 8-inch Lemon Meringue Pie that can be found in "Betty Crocker's Cookbook" from 1978 (an oldie, but a goodie) as a guideline. It is as follows:

------------------------------

          1 cup sugar
          1/4 cup sugar
          1 cup water
          2 egg yolks, slightly beaten
          2 T margarine or butter (I use margarine)
          1 tsp grated lemon peel
          1/3 cup lemon juice
          2 drops yellow food color (optional)

     Mix sugar and cornstarch in saucepan. Stir in water gradually. Cook over medium heat, stirring constantly, until mixture thickens and boils. Boil and stir one minute. Stir at least half of the hot mixture gradually into egg yolks. Blend into hot mixture in saucepan. Boil and stir one minute. Remove from heat; stir in margarine, lemon peel, lemon juice, and food color.

------------------------------

     As I said, I used this as a guideline. I did not, have not, and NEVER will use food coloring. When you use real eggs and not those fake imposters you buy at the store, there is no need for food coloring. Also, I used about 3/4 cups of lemon juice because I wanted this to be a little bit runnier than it should be for a pie because it was going on top of something, not standing alone.
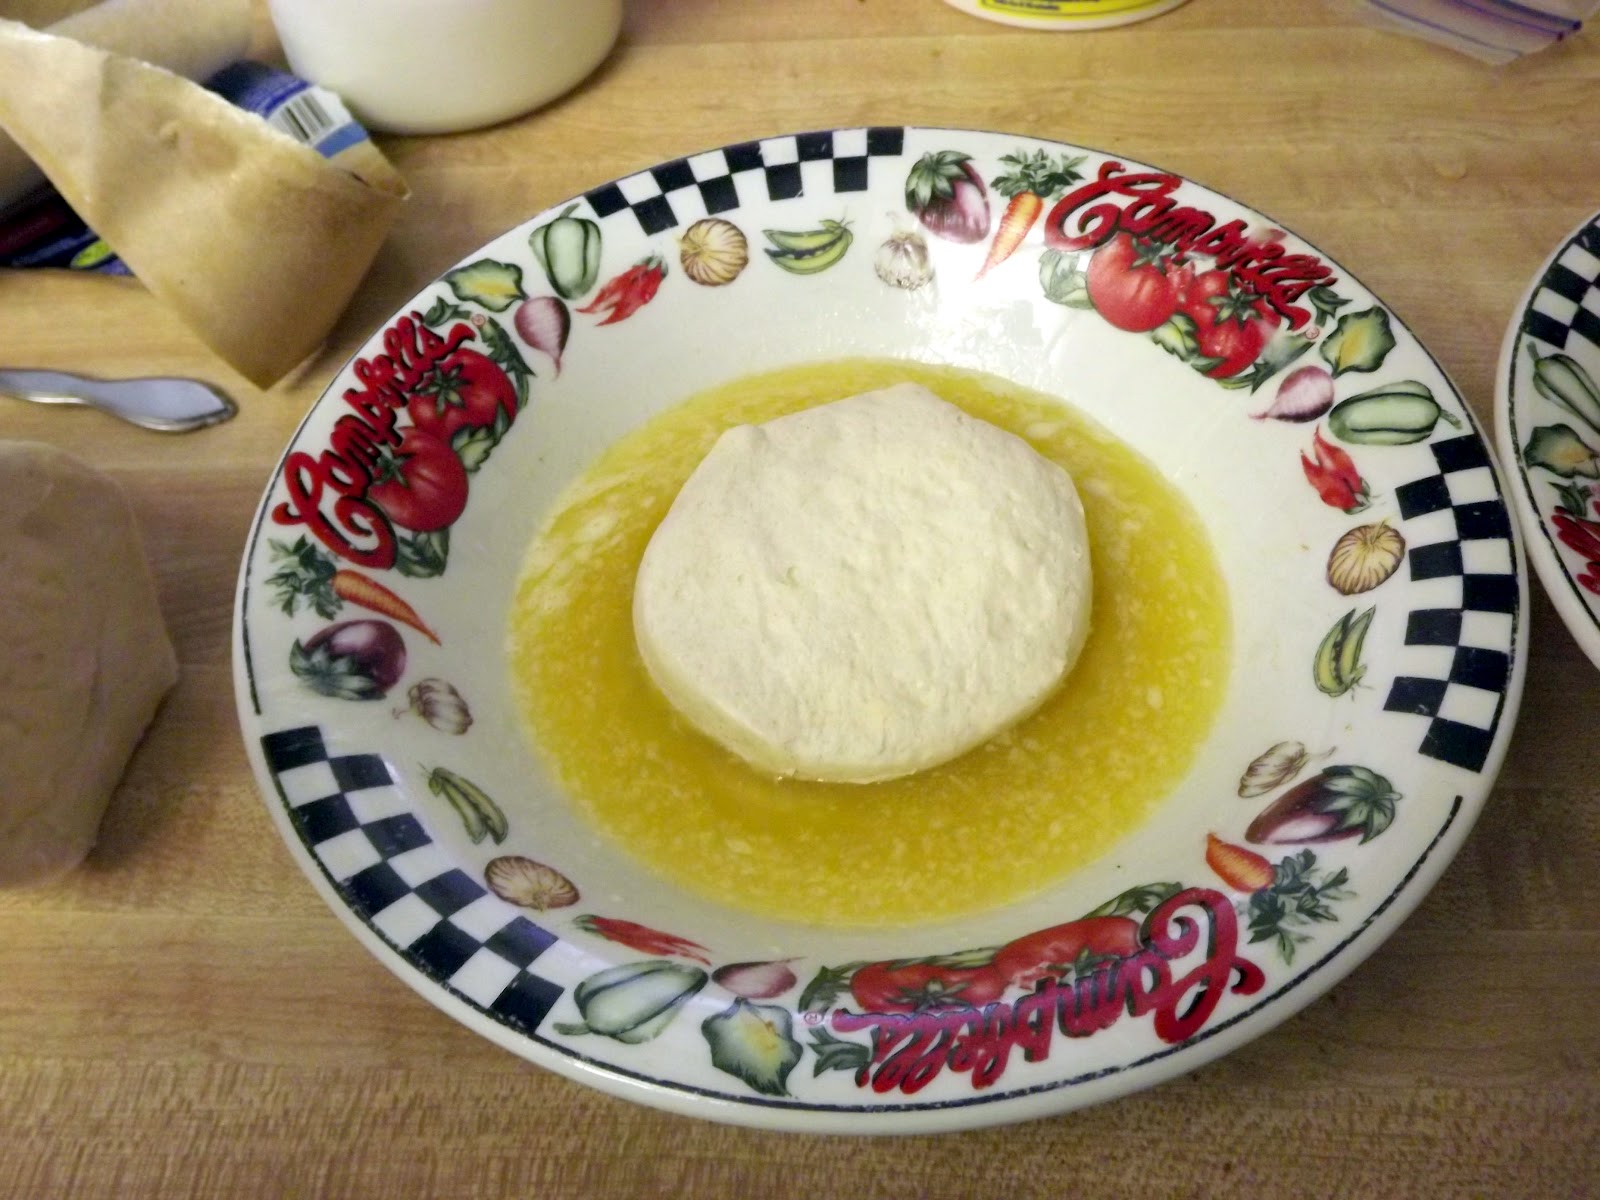
     For the chicken, I took two chicken breasts and cut them into Chinese Food size (Yes, Chinese Food is now a size). After cutting them up, I patted the pieces dry in between a paper towel. I do not remember where I heard this tip, but it helps to make the coating stick better. I then did your basic dip it in flour, then egg, then flour again. To do this, I took the egg whites that were left over from making the sauce plus one whole egg and about 5 T of water and mixed that together. For the flour, all I did was season it a little bit with some salt and pepper.
     While I was flouring the chicken, I had a pan on the stove with about 1/4 inch of vegetable oil in it heating up (I had the burner turned onto 6, a little above medium). Once that was warm enough (tested by putting a little bit of the goo that was created from the excess egg and flour on my fingers and having it start to bubble and sizzle), I began to put a few pieces of chicken in at a time. I then let the chicken pieces fry until they were a golden color (about five minutes), turning them every so often.
     When it came time to take the chicken out of the pan, I used a scoop thingy (very technical terminology here) and put the chicken in a container that was lined with paper towels and covered it with a lid to keep it warm.
     This is where the debate began. Should I put the chicken in a bowl and mix in the sauce or do I let people put on the sauce when they dish up? After a quick poll of the family, we determined that it would be best to let people put their own on because then the chicken would not be soggy the next day as leftovers.
     While the chicken was cooking, I had a pot of rice cooking. We like Mahatma Jasmine Rice because it has a great flavor and if you have any left over, it does not dry up like most rice so you can eat it the next day no problem.
     When everything was done, it was time for the best part; EATING!!! We had ours in bowls with a couple scoops of rice on the bottom then some pieces of chicken with the lemon sauce drizzled (Spooned? Dropped? Scooped? Take your pick.) on top. Dad said that he is going to either use a bigger bowl or a plate next time so he can cut the pieces up easier. However, I felt that it worked just fine in a bowl as I would just eat the chicken in a few bites off of the fork rather than cutting it up. I know, I know, that's not very lady-like, but I was eating in my own home, not at some fancy restaurant.
     It was very good. Dad tried putting a little bit of ground ginger on top and that made it even better, so next time I make it, I am going to put some ground ginger in the flour mixture.
     And now, pictures!!! Feel free to drool, just take care to not drool on your computer as that will possibly cause some problems. That would be no bueno.

See how wonderfully yellow those yolks are? That's from real eggs.

The sauce goes from this...

...to this.

This is what it looks like after the eggs, lemon juice, and margarine have been added.

The Chinese Food sized pieces of chicken.
The assembly line. See that black thing? That's the "scoop thingy" I talked about earlier.

Into the frying pan. To borrow a quote from The Lion King, "hippity-hop, all the way to the birdie boiler."

The chicken post-frying pan.
 
All dished up and ready to eat.


     I think I have successfully convinced Mom to make her Eggflower Soup to go with this next time we have it. It isn't really necessary to have it as this would make a great meal on its own, but what's Chinese Food without Eggflower Soup and Tea? I confess that I did not have tea with it this time as I didn't think about it until I was halfway through the bowl. I will, however, most likely be having a cup when I am done writing this post.

     I usually end my posts with a quote and this time since it is a post about Chinese Food, I thought it would be fitting to end with something that one might find in a Fortune Cookie.

"A quiet evening with friends is the best tonic for a long day."